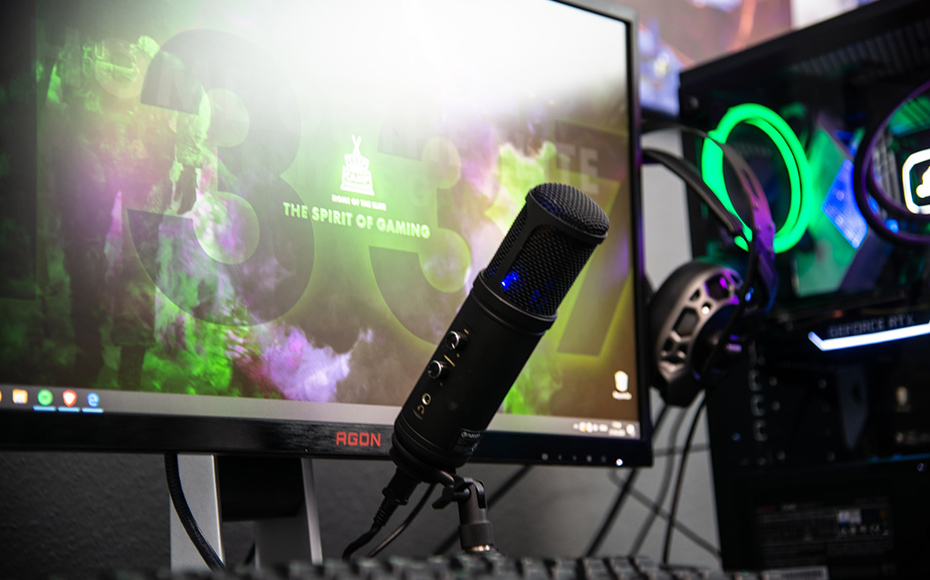
As far as live streaming is concerned, Twitch reigns supreme.
If you’re a content streamer on Twitch with hundreds of streams, you must consider expanding your reach through other platforms.
An excellent way to do that is by uploading your Twitch streams to YouTube to reach a bigger audience.
While Twitch already has a big fan following of gaming geeks, YouTube has people from all walks of life. You can promote your content at a higher level and expand your reach.
Twitch and YouTube are top-of-the-line streaming platforms. So, it’s best to get the hang of both as a content creator.
This post will explain how to export your Twitch streams to your YouTube account and appeal to your fanbase through both platforms.
Let’s dive in.
Contents
What is Twitch VOD?
Before learning how to upload Twitch streams to your YouTube account, you must first understand what Twitch VODs are.
Twitch VOD (Video on Demand) is a feature that allows you to keep Twitch video recordings of your previous broadcasts.
This feature lets you publish an old broadcast on your Twitch channel.
Twitch VODs also have a feature called “highlights,” which shows short clips from your best live streams. These VODs are removed two weeks after you’ve broadcast a stream.
However, if you have Partner Status, you can view your past broadcasts for up to 60 days on your channel. These VODs also help you upload your Twitch streams to YouTube.
Let us now learn how to upload your Twitch VODs to YouTube.
Also read: How to Setup a YouTube Live Stream: The Ultimate Guide
How to Upload Twitch Streams to YouTube
Uploading or exporting Twitch streams to YouTube is easy. Follow these steps for uploading Twitch Streams to YouTube.
1. Enable VODs on Twitch
First, you ensure that you’ve enabled VODs on your Twitch account. To do this, follow these steps:
- Click on the profile picture of your Twitch account. You should see a drop-down menu right after doing that. Click on ‘Creator dashboard.’
- On the left side of the menu, click ‘Preferences’ and select ‘Channel’ from the options.
- Go to ‘Stream Key and Preferences,’ navigate to ‘Store my Broadcasts,’ and click on the toggle to switch it ‘on.’
You have now enabled VODs on your Twitch account.
2. Export VODs from Twitch to YouTube
If you have already linked your Twitch account to a YouTube stream, you’re lucky because this feature no longer exists for new Twitch streamers.
Since YouTube Gaming is now quite popular, there is less interaction between YouTube and Twitch.
However, previous Twitch users who have linked their accounts to YouTube can continue using this feature.
So, if you have a Twitch account linked with YouTube videos, you can export VODs from Twitch to YouTube in the following ways:
- Click on your profile picture on your screen and then click on ‘Video Producer’ from the drop-down menu.
- Choose the VOD you want to export and click on ‘More.’
- Click on ‘Export’ from the drop-down menu and then navigate to your regular YouTube Video options.
You can now directly export any video at any time from your Twitch account to your YouTube channel.
But before you post Twitch streams, remember that the export of the entire stream can take several hours to upload to your YouTube account.
3. Highlight Your Twitch Videos
Video editing and highlighting are very important before uploading your streams from Twitch channels to your YouTube channels.
These days, people have no time to watch full streams and prefer to watch highlights that show the best parts of the videos.
The good thing about the Twitch website is that it has the highlight feature built into the software.
The following are the steps to highlight your Twitch streams:
- Go to Twitch Video Producer on Twitch and select the stream or broadcast you want to highlight.
- After selecting any past Twitch stream, click ‘highlight.’ You’ll be taken to the Twitch highlighter.
- If you don’t have any past streams recorded, enable the option for recording streams.
- To enable the recording option, go to the creator dashboard, find ‘Settings,’ and then click on ‘Stream.’
- Scroll to ‘VOD settings’ and turn on ‘Store past broadcasts.’
- Now make highlights of the best moments from your broadcasts.
Remember to keep the highlights under two minutes. Besides that, there is no restriction to the number of highlights you can create on your Twitch account.
The pro of highlights is that they don’t expire on Twitch. However, your past streams expire in 14 or 60 days, depending on your Twitch account.
4. Download Your Twitch Stream
To edit your videos before uploading them on YouTube, you’ll need to download them and then edit them with some other software.
Downloading videos from the Twitch platform is easy. Simply follow these steps.
- Click on your avatar, and you’ll see a drop-down menu. From there, select ‘Video Producer.’
- From the Video Producer option, choose the stream you’d like to download and click ‘More.’
- Click on ‘Download,’ and your Twitch stream will be downloaded in video form.
Now you can do your video editing on any software and then upload Twitch streams on any platform.
Wrap Up: How to Upload Twitch Stream to YouTube
We hope you found this guide useful on how to upload Twitch stream to YouTube.
Regardless of the strategies and techniques to keep your Twitch channel growing, the best trick is to consistently produce quality videos.
Uploading your Twitch streams to YouTube is also a good idea, as it will expand your reach.
You could also switch to Twitch Turbo User Status to improve your content on Twitch and get a better user experience overall.
One of the most critical parts of being a streamer is probably having a large audience.

